
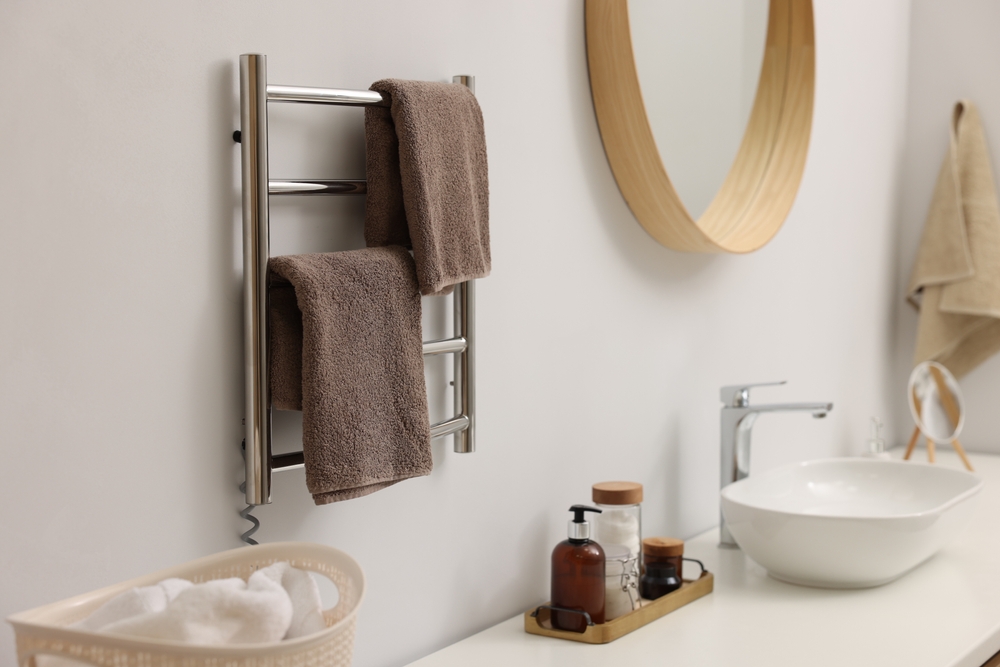
A heated towel rail adds warmth, comfort and a luxurious touch to any bathroom or modern wetroom. But before you reach for your tools, it’s worth knowing how to install one safely and correctly to avoid costly mistakes.
From plumbing and electrical connections to positioning and maintenance, our step-by-step guide covers everything you need to know, and when it’s best to call a professional for a flawless finish.
What Type of Heated Towel Rail Do I Need?
Heated towel rails are a common feature when designing a new wetroom or bathroom, or simply upgrading your existing space.
Before looking at how to install a heated towel rail, you’ll need to decide which type is right for your needs. There are three main options, each with different installation requirements:
Central heating heated towel rails
These connect directly to your home’s central heating system, using hot water circulated from your boiler to warm the rails. They’re a popular choice for replacing an existing radiator, although you may need to adjust the pipework to accommodate the new unit.
Electric heated towel rails
Electric models use a heating element to warm the rail independently of your central heating system. They’re particularly useful if you want warm towels throughout the year without having to switch on your central heating. Depending on the model, they may be hardwired into a dedicated electrical connection.
Dual-fuel heated towel rails
Dual-fuel models combine both heating methods. They connect to your central heating system but also have an electric element, allowing you to heat towels independently during warmer months.
It’s important to choose a model that suits your bathroom layout, available connections and heating requirements. Always check the manufacturer’s installation instructions before purchasing or fitting your chosen rail.
Tools and Equipment for Fitting a Heated Towel Rail
The tools and materials required will depend on the type of towel rail you’re installing and whether you’re replacing an existing unit or creating new connections.
For a typical wall-mounted installation, you may need:
|
|
|
|
|
|
|
|
|
|
|
|
Heated towel rails usually come with mounting brackets, screws and other components, but you may need to purchase additional fixings separately.
Top tip: Plumbing alterations and electrical work can cause serious problems if carried out incorrectly. If you lack the necessary experience, use a professional bathroom fitter and a qualified electrician.
How to Install a Heated Towel Rail: Step by Step
The following steps provide an overview of a typical installation. The exact process will vary depending on your towel rail, wall construction and existing plumbing or electrical connections.
Step 1: Choose the Right Position
The first step is deciding where your heated towel rail will go. Ideally, it should be somewhere convenient to reach after using the bath or shower, with enough surrounding space to hang and remove towels comfortably.
Consider:
- Available wall space: Make sure there’s enough room for the full height and width of the rail, including its valves and connections.
- Accessibility: Position it somewhere that’s easy to reach without obstructing doors, shower screens or other bathroom fixtures.
- Heating efficiency: Avoid hiding the rail behind furniture or placing it somewhere that restricts heat circulation.
- Wall strength: The wall must be capable of supporting the weight of the rail, particularly when filled with water and carrying wet towels.
You should also check the manufacturer’s recommended clearances and mounting height. For electric models, the position must comply with bathroom electrical safety requirements and the relevant installation zones.
Top tip: It’s worth planning this carefully before drilling any holes, as moving a heated towel rail later could mean additional plumbing, electrical work and repairs to your walls.
Step 2: Prepare the Wall and Mounting Points
Once you’ve chosen the right spot, check that the wall is strong enough to support the towel rail. Heavier models fitted to stud or plasterboard walls may need extra reinforcement, as standard wall plugs might not provide enough support.
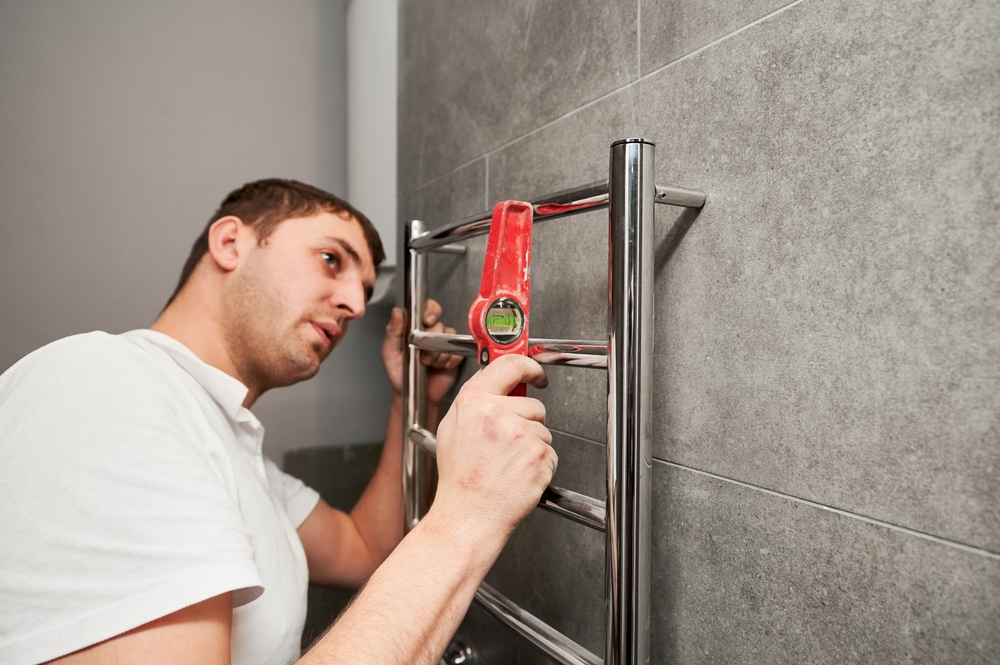
Measure the distance between the rail’s mounting points and mark their positions on the wall. Use a spirit level to ensure everything is straight and evenly aligned before drilling.
Top tip: If you’re unsure about the wall structure or hidden pipes and cables, get a professional to check first.
Step 3: Fit the Mounting Brackets
With the mounting positions marked, use a suitable drill bit for your wall surface and carefully drill the marked holes. Insert the correct wall plugs and secure the mounting brackets using the appropriate screws.
Check that each bracket is firmly attached and correctly aligned before attempting to hang the towel rail.
Top tip: Follow the manufacturer’s instructions for the correct fixing arrangement. Different models may use different bracket designs, and it’s important that every fixing is properly secured.
Step 4: Attach the Heated Towel Rail
Once the brackets are in place, carefully lift the towel rail and position it onto its mounting points.
Depending on the design, it may slot into the brackets or require additional securing screws. Tighten all retaining fixings according to the manufacturer’s instructions, making sure the unit is stable and level.
Avoid overtightening screws or connections, as this could damage the brackets or the towel rail itself.
Top tip: Check the rail is firmly mounted and there’s enough clearance for comfortable everyday use.
Step 5: Connect the Plumbing (Central Heating Models)
If you’re installing a central heating heated towel rail, the next step involves connecting it to your existing pipework.
This stage can be technically demanding, particularly if you’re replacing a radiator with a towel rail of a different size or changing the position of the connections.
The general process involves:
- Isolating the heating system and allowing it to cool before any plumbing work begins.
- Draining the relevant section of the heating system where necessary.
- Preparing the towel rail’s inlet connections and fitting the appropriate radiator valves.
- Connecting the valves to the existing pipework, ensuring all joints are correctly aligned and sealed.
- Refilling the heating system and checking the connections for leaks.
- Bleeding the towel rail to release any trapped air once the system is refilled.
Fitting the correct radiator valves is important. Depending on the layout of your pipework and the position of the towel rail connections, you may need straight or angled valves.
It’s also important to ensure the system is properly balanced and that any manufacturer recommendations regarding corrosion inhibitors are followed.
Top tip: If you’re unfamiliar with radiator plumbing, it’s best to leave this work to a qualified plumber or experienced bathroom fitter. Poorly sealed connections can cause leaks, water damage and expensive repairs.
Step 6: Connect the Electrical Supply (Electric and Dual-Fuel Models)
Electric and dual-fuel heated towel rails require additional care because wetrooms and bathrooms are classified as special locations for electrical installations.
Some electric models have a heating element that fits into the bottom of the rail, while others require a dedicated hardwired electrical connection.
The installation must account for:
- The electrical zones within the bathroom.
- The towel rail’s suitability for its intended installation location.
- The required Ingress Protection (IP) rating.
- Appropriate electrical protection, including RCD protection where required.
- The correct isolation and switching arrangements.
In England and Wales, electrical installations must comply with Part P of the Building Regulations, alongside the relevant requirements of BS 7671 (the IET Wiring Regulations).
Not all electrical work is automatically notifiable under Part P, but bathroom electrical installations must still meet the applicable safety standards. Certain work may require notification or certification.
Top tip: Never attempt to hardwire an electric heated towel rail yourself unless you’re appropriately qualified. Electrical work in bathrooms presents a risk of electric shock, particularly where water and moisture are present. Always use a qualified electrician to complete or check the electrical installation as appropriate.
Step 7: Test the Heated Towel Rail
Once the heated towel rail is installed, check that everything works correctly:
- Central heating models: Gradually bring the heating system back into operation and inspect all connections for leaks. Check that the towel rail heats evenly and release any trapped air if necessary.
- Electric models: A qualified electrician should carry out the necessary safety checks before the rail is switched on and tested.
- Dual-fuel models: Both heating functions should be checked independently.
Top tip: Look out for any unusual noises, uneven heating, loose fittings or signs of water leakage. If anything doesn’t seem right, switch off the system and seek professional advice rather than attempting to fix the problem yourself.
Common Mistakes to Avoid When Installing a Heated Towel Rail
A few simple oversights can turn a straightforward installation into an expensive headache. Here’s what to watch out for:
Choosing the wrong size
Select a rail that suits your bathroom’s space, heating needs and the number of towels you want to hang.
Incorrect positioning
Allow enough clearance around other fixtures and check bathroom electrical zones before deciding where to fit it.
Using unsuitable fixings
You must use suitable wall brackets and fixings to keep the rail secure, even when carrying heavy, wet towels.
Leaky plumbing
Make sure plumbing joints and valves are fitted correctly and checked thoroughly to prevent water damage.
Unsafe electrics
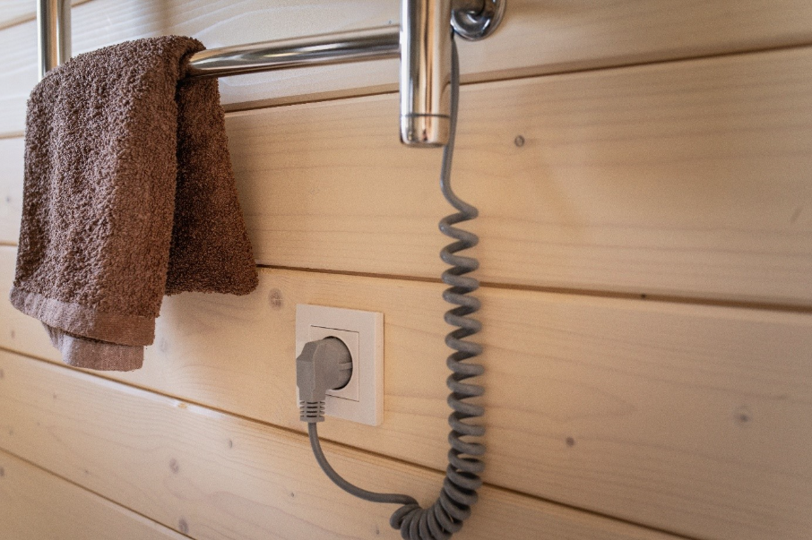
Always follow bathroom electrical regulations and use a qualified electrician for electrical connections.
Forgetting to bleed the towel rail
Bleed central heating towel rails to release trapped air and ensure even heat distribution.
Remember, even a relatively straightforward heated towel rail installation can go wrong if important details are overlooked.
Should You Install a Heated Towel Rail Yourself or Hire a Professional?
Installing a heated towel rail may seem simple, but plumbing alterations and bathroom electrics can quickly complicate things.
If you’re confident with DIY, replacing an existing radiator may be manageable. Otherwise, leave it to a professional bathroom fitter. They’ll ensure your rail is securely fitted, correctly connected and safe to use, saving you from costly leaks, damage and dangerous mistakes.
How to Install a Heated Towel Rail: Make CCL Wetrooms the Smart Choice
If you’re unsure how to install a heated towel rail or don’t have the necessary DIY skills, don’t take unnecessary risks.
At CCL Wetrooms, we have decades of experience in bathroom and wetroom design for small wetrooms, luxury wetrooms and bespoke wetrooms. Our professional installation services mean we’ll ensure the job is completed properly, helping you avoid expensive mistakes and enjoy your new bathroom feature with confidence.
Contact us today.