Fitting a concealed shower head needs a bit of know-how and a lot of patience. But don’t be put off – fitting one is something anyone can do with the right instructions.
Whether you’re an experienced DIYer or designing a new wetroom, this step-by-step guide will give you the confidence to fit a concealed shower head yourself.
What is a Concealed Shower Head?
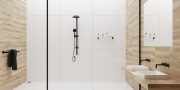
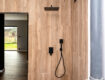
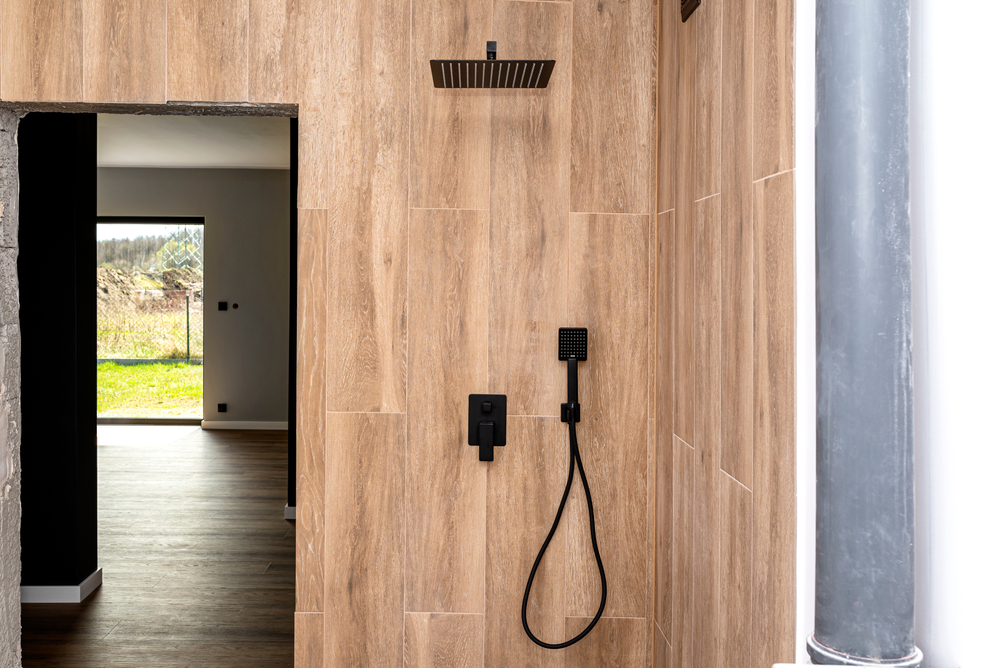
A concealed shower head is a system where the shower valve and pipework are hidden behind a bathroom wall or tiles. Only the shower head and controls are visible, making everything look neat and tidy.
This sleek design is great for maximising space in your shower, concealing ugly pipework, and creating a luxurious wetroom experience. They’re also an ideal shower solution for smaller bathrooms and for creating a clean, decluttered aesthetic.
However, concealed shower head fitting is generally trickier than traditional shower installations – because more effort, labour and design work go into hiding the pipework.
Concealed Shower Head Fitting: Here’s What You Should Do
If you’ve chosen this neat, space-saving option, you’ll need to fit your concealed shower head safely and correctly for the best experience.
Start by measuring your bathroom to ensure there’s enough room for a concealed shower and that it fits the available space. If the shower valves are being mounted on a solid wall, the brickwork must be chased out so the valve can be fitted at the correct depth, receive the water pipes, and connect to the shower head.
When there’s not enough space for the valve to sit within an internal wall cavity, you’ll need to create a false stud shower wall to hide the valves and pipes behind.
Like any home improvement project, get help from a bathroom and installation specialist if you don’t feel confident tackling the job yourself. Otherwise, follow the steps below for fitting a concealed shower head in your home.
1. Find a secure place for the shower valve
Start by working out the correct location for the shower valve. Draw a centre line at least 50mm away from where the shower screen will go. That way, you’ll avoid damaging pipes when it comes to screwing the shower screen in place.
Place the shower valve against the wall and mark the outline so you know exactly where to fit it, giving yourself some leeway for tightening the screws and fixing.
2. Mark the location of your pipes
Take a spirit level and mark off the location of your pipes and your pipe runs. Focus on the precise area where your pipes will go to rule out any nasty surprises.
Also, measure the back part of the shower mixer so you’ll know how deep you’ll need to cut into the wall to accommodate it.
3. Score the concealed shower markings
Using an angle grinder or similar tool, score all the markings you’ve so far made onto the shower wall.
Make sure you carefully score where the shower valve will fit in a clear, criss-cross style. It’s much easier to chase out small pieces of the wall than chisel it out in large chunks, which could potentially damage the shower wall.
4. Fit your concealed shower to the wall
You’re ready to fix your concealed shower to the wall. Screw it into place following the manufacturer’s guidelines and use a spirit level to check that it’s straight.
Repeat the process for the concealed water pipes that supply the shower head and make sure these are properly attached to the handset and hose if these apply.
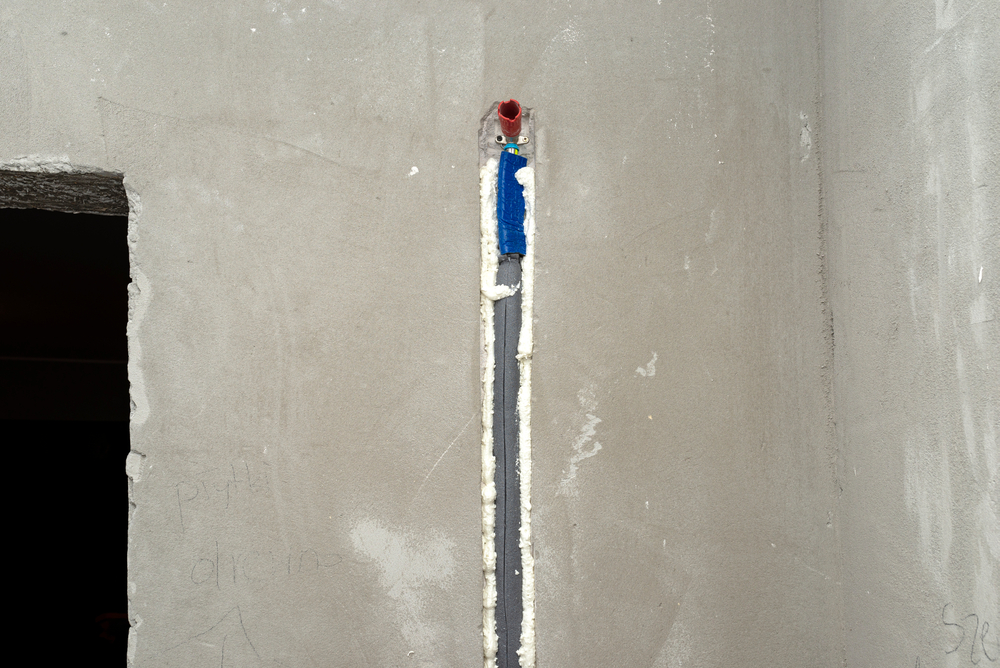
5. Check the water pipes
All water supply pipes must be fitted correctly and securely inside the space and are also clipped.
Once that’s done, turn on the hot and cold supply to ensure everything is connected properly and that no leaks appear. If everything works fine, use filler to plug the gaps between the pipework. Once dried, use foam to seal up the installation before removing any excess dirt and debris.
How Do I Make a False Stud Wall to Fit a Concealed Shower Head?
You may need to install a false stud wall to house your concealed shower valve, pipework and shower head. If so, follow these steps:
- Turn off the water: To avoid flooding your bathroom, switch off the water supply and flush the water system so that everything is ready.
- Measure up: Start by removing the current shower valve and strip the wall behind down to the brick. Carefully measure where you want your false wall to go and map out the channels for your hot and cold supplies as well as the location of the new mixer valve.
- Route your pipework: If your system doesn’t have them, install tee junctions for both the hot and cold feed, ensuring copper tails and pipes pass through the wallboard. This will keep them in place when it comes to installing the plasterboard over the pipes.
- Secure everything in place: Ensuring your pipework and all your copper and plastic parts are securely fitted will reduce water vibration noise and improve your shower experience. Pipe clamps and mounting brackets will keep everything in place and spare you from that annoying rattling sound you sometimes hear when water flows through the pipes.
- Install Your Concealed Shower Valve: When your plasterboard false stud wall is firmly in place, you’re ready to fit your concealed shower valve while closely following the manufacturer’s instructions. When you’re satisfied your shower system is functioning properly, you can finish the stud wall with your favourite wall tiles or wall panel.
Key Considerations for Concealed Shower Head Fitting
There are lots of other important factors to consider when fitting a concealed shower head in your bathroom or wetroom. These include:
Waterproof protection
Bathroom and wetroom membranes are tanking solutions used to prevent water damage and ensure optimum performance and longevity from your concealed shower.
The membrane is installed between the wall, floor and floor covering for a watertight, leak-free finish. Acting as a waterproof barrier, the membrane prevents water and moisture from penetrating the walls, floor and floor covering in your bathroom and wetroom.
The added benefit of waterproofing membranes is that they can be installed on both timber and solid walls and can also be used with underfloor heating systems.
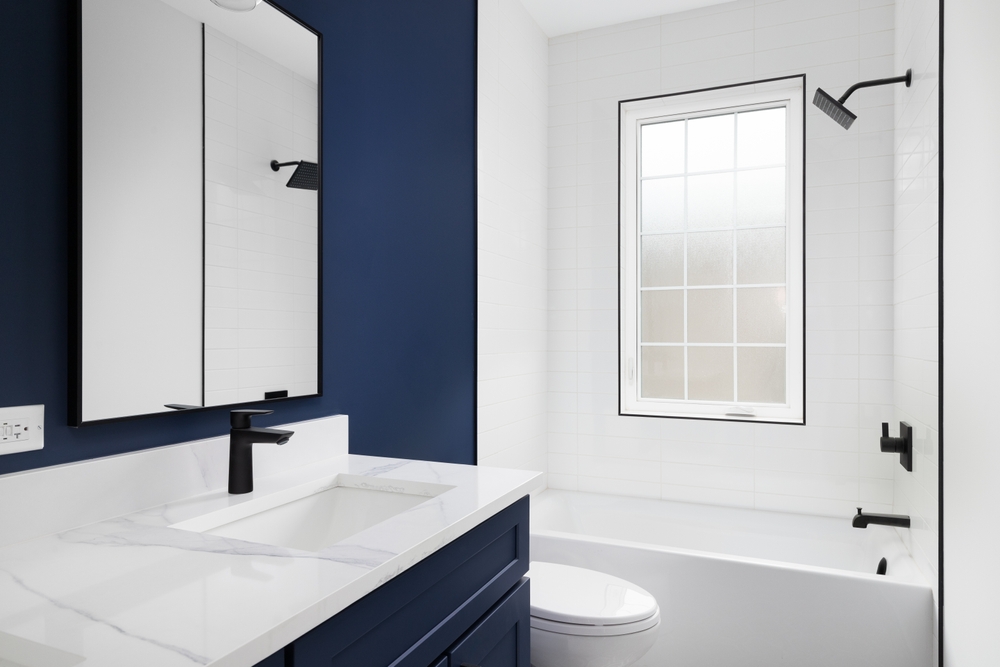
Position of the shower head
Shower head heights aren’t specified in UK building regulations, but the recommended standard is 200cm (6.67 feet) from the floor or shower tray. This height ensures the water spray comfortably reaches the head and upper body of users of average height.
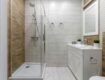
Shower Tray installation
Choosing the correct shower tray height is essential to ensure the shower trap works effectively by stopping hair, dirt, and debris from clogging your pipes. Shower trays come in a variety of depths from 50mm to 90mm depending on your drainage needs, and are an important element in any bathroom or wetroom setup.
Mixer controls height
Installing shower mixer taps and temperature controls at the right height ensures a safe and comfortable shower experience. Whether you’re installing a new wetroom or Jack and Jill ensuite, the correct placement of the mixer controls prevents unnecessary stretching and reaching, reduces the risk of slips and falls, and offers easy access to the shower.
Positioning your shower mixer at the right height also delivers optimal water pressure and a consistent water temperature. If your water pressure is low when you take a shower, you could boost the flow with a modern shower pump.
Is Concealed Shower Head Fitting Part of Your Bathroom or Wetroom Project?
At CCL Wetrooms, we have decades of experience designing and installing wetrooms and bathrooms for both residential and commercial properties. If you’re starting a wetroom renovation, why not leave the hard work to us? All our wetroom solutions also come with a unique lifetime guarantee. Contact us today to discuss your needs.