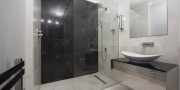

If you’re researching how to tile a wetroom floor, creating a stylish finish is only one part of the job.
A wetroom floor must also be completely waterproof, correctly sloped towards the drain and durable enough to withstand years of daily use without leaking or cracking.
While it’s possible to tile a wetroom floor yourself, wetrooms require specialist installation and precision. Even small DIY mistakes can lead to costly leaks, water damage and poor drainage.
If new flooring is part of your wetroom design and installation project, our detailed guide explains how to tile a wetroom floor, covering preparation, waterproofing, tile selection, drainage, grouting and more. We’ll also highlight why it’s often a job best left to experienced wetroom professionals.
How to Tile a Wetroom Floor: Your 7-Step Guide
If your bathroom is looking tired or outdated, a full wetroom makeover can completely transform the space.
Stylish, practical and designed to last, a professionally tiled wet room can also make a home more attractive to potential buyers if you choose to sell.
But achieving a flawless finish starts with knowing how to tile a wet room floor correctly. From waterproofing to drainage, every step needs to be done right to create a safe, durable and watertight result.
1. Preparation is everything
Modern wetrooms are suitable for a variety of floor types, including solid floors and timber floors. But finished floor tiles are only as good as the surface beneath them.
Unlike a standard bathroom floor, a wetroom requires a perfectly prepared subfloor that is stable, level and capable of supporting the waterproofing system and tile installation. Any movement in the subfloor can eventually cause tiles to crack or grout joints to fail, allowing water to penetrate beneath the surface.
Always inspect the substrate before any work begins, repairing defects and ensuring the floor is suitable for the chosen wetroom system.
Skipping or rushing this stage is one of the most common reasons wetroom installations fail.
2. Waterproofing is essential
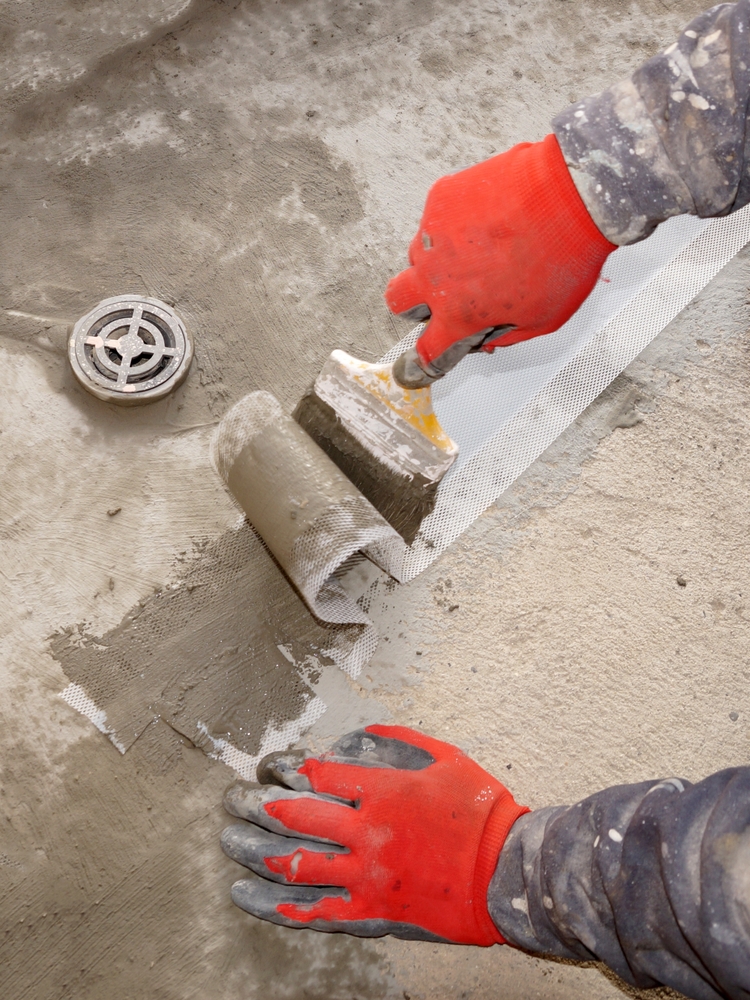
Wetroom waterproofing is arguably the most important part of the entire installation. Wetrooms rely on a fully tanked waterproof system that prevents water from escaping into the surrounding floor, walls and building structure.
This involves applying specialist waterproof membranes, tapes and sealing systems around joints, corners, drainage points and wall connections. Every component must work together to create a continuous waterproof barrier.
If waterproofing is incorrectly installed, steady leaks can cause significant structural damage. Professional installers have the expertise to ensure every waterproof detail is completed correctly the first time.
3. Create the correct floor gradient
One of the biggest challenges is creating the correct floor gradient towards the drain.
A wetroom floor isn’t completely flat and features a carefully calculated fall that encourages water to flow naturally into the drain without pooling.
If the gradient is too shallow, water can collect across the floor, creating slip hazards and attracting excess dirt and grime.
If the slope is too steep or inconsistent, tiles may become difficult to lay, affecting both appearance and functionality. Modern wetroom formers and drainage systems are specifically designed to create accurate gradients while maintaining an attractive finish.
4. Get the drainage right
Your wetroom drainage system must be correctly positioned, securely installed and fully integrated with the waterproofing membrane to prevent leaks.
Whether using a linear drain or central drain, precise installation is essential to ensure water flows efficiently away from the showering area. Incorrect positioning can result in standing water, unpleasant odours and long-term maintenance issues.
Today’s wetroom systems should ensure drainage, waterproofing and floor gradients all work together as one integrated solution.
5. Choose the right tiles
Always select wetroom tiles that are suitable for constantly wet environments. While appearance is important, safety and practicality should always come first.
Porcelain tiles are often the preferred choice because they are highly durable, water resistant and available in a huge variety of colours, sizes and finishes.
Slip resistance is another major consideration. Textured or matt finishes generally provide better grip than highly polished tiles, particularly when wet.
Tile size also affects installation. Larger tiles can create a sleek contemporary appearance but may require additional cutting around drainage points to maintain the correct falls. An experienced installer can recommend the best tile format for your chosen wetroom layout.
6. Use the correct adhesive
Selecting the right adhesive is essential when learning how to tile a wetroom floor.
Standard adhesives often lack the flexibility and moisture resistance needed for wetrooms. Instead, professionals use high-performance flexible adhesives that accommodate slight movement and are compatible with waterproofing systems, underfloor heating and the chosen tiles, helping prevent loose or cracked tiles over time.
Using unsuitable adhesive products increases the risk of loose or cracked tiles over time.
7. Grout for long-term protection
Grout does far more than fill the gaps between wetroom floor and wall tiles. It helps protect the installation from water ingress while creating a hygienic, easy-to-clean surface.
High-quality waterproof grouts are commonly used in wetroom installations because they offer greater resistance to staining, mould and moisture.
Professional application is equally important. Poorly filled joints or inconsistent grout lines can compromise both appearance and waterproof performance. Once completed, every joint should provide a durable seal that complements the overall design.
How to Tile a Wetroom Floor: Common Mistakes that can Cause Problems
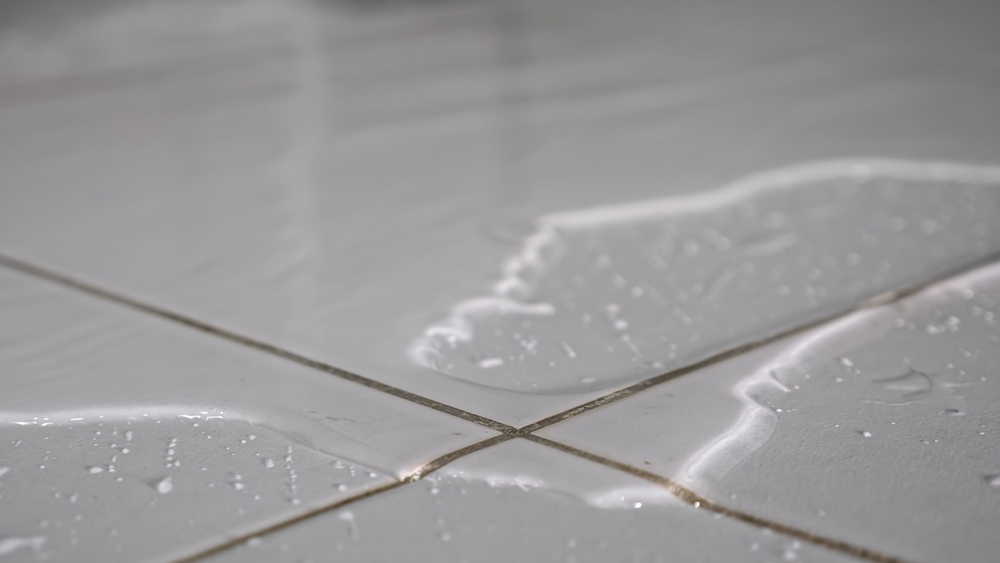
Many people underestimate the technical nature of a wetroom floor installation. Some of the most common mistakes include:
- Inadequate waterproofing: Allows hidden leaks to develop over time.
- Incorrect floor gradients: Leaves dangerous water pooling across the surface.
- Poor drain installation: Results in slow drainage and poor wastewater flow.
- Using unsuitable adhesives or grout: Leaves the floor prone to movement, cracking, leaks and damage.
- Insufficient support beneath the tiles: Causes costly cracks and structural problems.
- Incorrect tile cutting: Leads to exposed gaps around drainage areas that cause leaks and water damage.
- Rushing the job: Failure to allow adhesives and waterproofing products to cure properly.
- Poor movement joint planning: Causes long-term tile failure.
These issues often require expensive remedial work that costs significantly more than having the wetroom professionally installed from the outset.
Why Wetroom Installation is a Challenging DIY Project
Online tutorials can make how to tile a wetroom floor look simple, but it takes specialist skill to get it right. From creating the correct floor gradient to waterproofing and drainage, every step must be completed with precision.
Any mistakes you make are not always immediately visible. Water can penetrate beneath tiles for months before signs of damage appear, affecting ceilings, walls, timber floors and neighbouring rooms.
Professional installers have the experience, specialist tools and technical understanding needed to deliver a safe, reliable installation that performs exactly as intended. Attempting to save money through DIY can often result in significantly higher repair costs further down the line.
At CCL Wetrooms, We Know Exactly How to Tile a Wetroom Floor. Leave it to the Experts…
The safest approach to tiling a wetroom floor is to leave it to experienced specialists.
At CCL Wetrooms, we understand every aspect of wetroom design and wetroom installation, from waterproofing and drainage through to tile preparation and finishing. Our professional team ensures every installation is completed to the highest standards, delivering a watertight, durable and beautifully finished wetroom that will stand the test of time.
Rather than taking risks with a complex DIY installation, contact CCL Wetrooms for expert advice and professional workmanship you can rely on. For 30 years, customers have trusted us to deliver an installation that looks exceptional, performs reliably and protects your home for years to come.