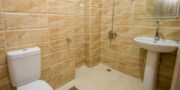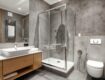
If it takes an age for the water in your wetroom to drain away, it can mean only one thing – it’s time to remove the wetroom drain cover. You’ll want to grab your gloves and some tools so you can get cleaning and unblocking that drain.
If you own a wetroom, you may know this problem if you don’t have a lot of time to frequently unblock and clean your pipes. Without regular maintenance, a build-up of hair, dirt and grime can quickly block your wetroom drain, fill your bathroom with a nasty smell and encourage water pooling around the site. Every time you take a shower, you’re left standing in a dirty, soapy puddle wondering what to do.
Before you get cracking on your cleaning mission, you’ll need to gain full access to the drain, and that means removing the wetroom drain cover. If you’ve never done this before, it can seem like a job only a professional can handle. But, don’t panic! You may not need to call the plumber for this simple task. With the correct tools and knowledge, anyone can remove a wetroom drain cover, saving you on the call-out fees and the horrors of your drain’s contents. Here’s how to do it in 6 easy steps.
5 Steps to Removing a Wetroom Drain Cover
The hair gremlins have returned with a vengeance and shower water can’t run away because your wetroom drain is blocked. Now you’ll need to remove the drain cover in order to gain access, clear any blockages, and give the drain a proper clean. Whether you’re planning to replace the drain cover with a new part or keep the old one, you’ll need to follow the steps below.
From linear screed drains to linear screed line drains, this guide will help you remove your drain cover so that you can clean it thoroughly and get the most out of your showering experience once again.
1. Do the Preparation
If your drain is completely clogged, you could begin to disperse some of the blockage before you remove the cover. A drain snake or plumbing snake is a specially designed tool that can be pushed into the drain to loosen any blockages that then wash away. Alternatively, it might be possible to pull any blockage from the drain area if it’s sitting at the surface and not further down the pipe.
A variety of hair removal liquids are also available that are strong enough to dissolve most blockages in wetroom drains. You can also place a small cup of baking soda into the drain and pour hot water on top for a similar result. Before you do this though, you’ll want to make sure you aren’t going to cause more pooling or excess water on the floor.
2. Use a Lubricant
Older drain covers often become stuck over time due to a build-up of dirt, soap, hair, and debris. The problem can arise even after the cover has been removed. You can make the task of removing the cover significantly easier by using a lubricant. Most drain or spray lubricants such as WD-40 will work.
Firstly, ensure the wetroom drain is completely dry and free from drips and puddles. Then, simply spray around the drain, wait a couple of minutes, and lift out.
3. Remove the Wetroom Drain Cover
Sometimes screws are used to hold wetroom drain covers in place, but CCL’s wetroom drains aren’t. Instead, they are simply slotted into the drain and use a special grill removal key to remove the top part. Once you’ve removed the drain cover, carefully place it next to the drain. You won’t need to unscrew anything in the drain with a CCL drain. Doing this could cause the drain to break. See our instructions for removing the Lo-Seal drain cover and TR50 drain cover for further guidance.
4. Clean Your Wetroom Drain
You’ve successfully removed your wetroom drain cover, now it’s time to clean the drain itself. Regular cleaning and maintenance are the best ways to prevent your wetroom drain from clogging up with hair and other debris.
With the drain cover removed, use a cloth to wipe away any remaining dirt and clear away any visible blockages. Then, clean the drain cover with a brush and warm soapy water while taking care not to scratch any metallic surfaces. Finally, flush the gutter with fresh water to remove any remaining debris.
Wetroom drains can be cleaned and unblocked with a chemical solution. However, there’s also a chemical-free and cheaper alternative that involves simply mixing bicarbonate of soda and white vinegar. In this instance, you should:
- Carefully pour hot water into the wetroom drain
- Pour 100g of bicarbonate of soda into the drain followed by a cup of vinegar
- Add another large cup of very hot water
- Leave it for 5-10 minutes then flush out the drain with more hot water.
Following this process each time you remove your wetroom drain cover will help to ensure your wetroom drain remains as free as possible from hair, dirt and other deposits that could harm its functionality.
5. Replace Your Wetroom Drain Cover
Once your wetroom drain has been cleaned and is free from any blockages, you’ll need to replace the cover.
Simply put the drain cover back in its original position in the reverse of how you opened it. CCL Wetroom drain covers should simply slot back into place.
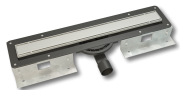
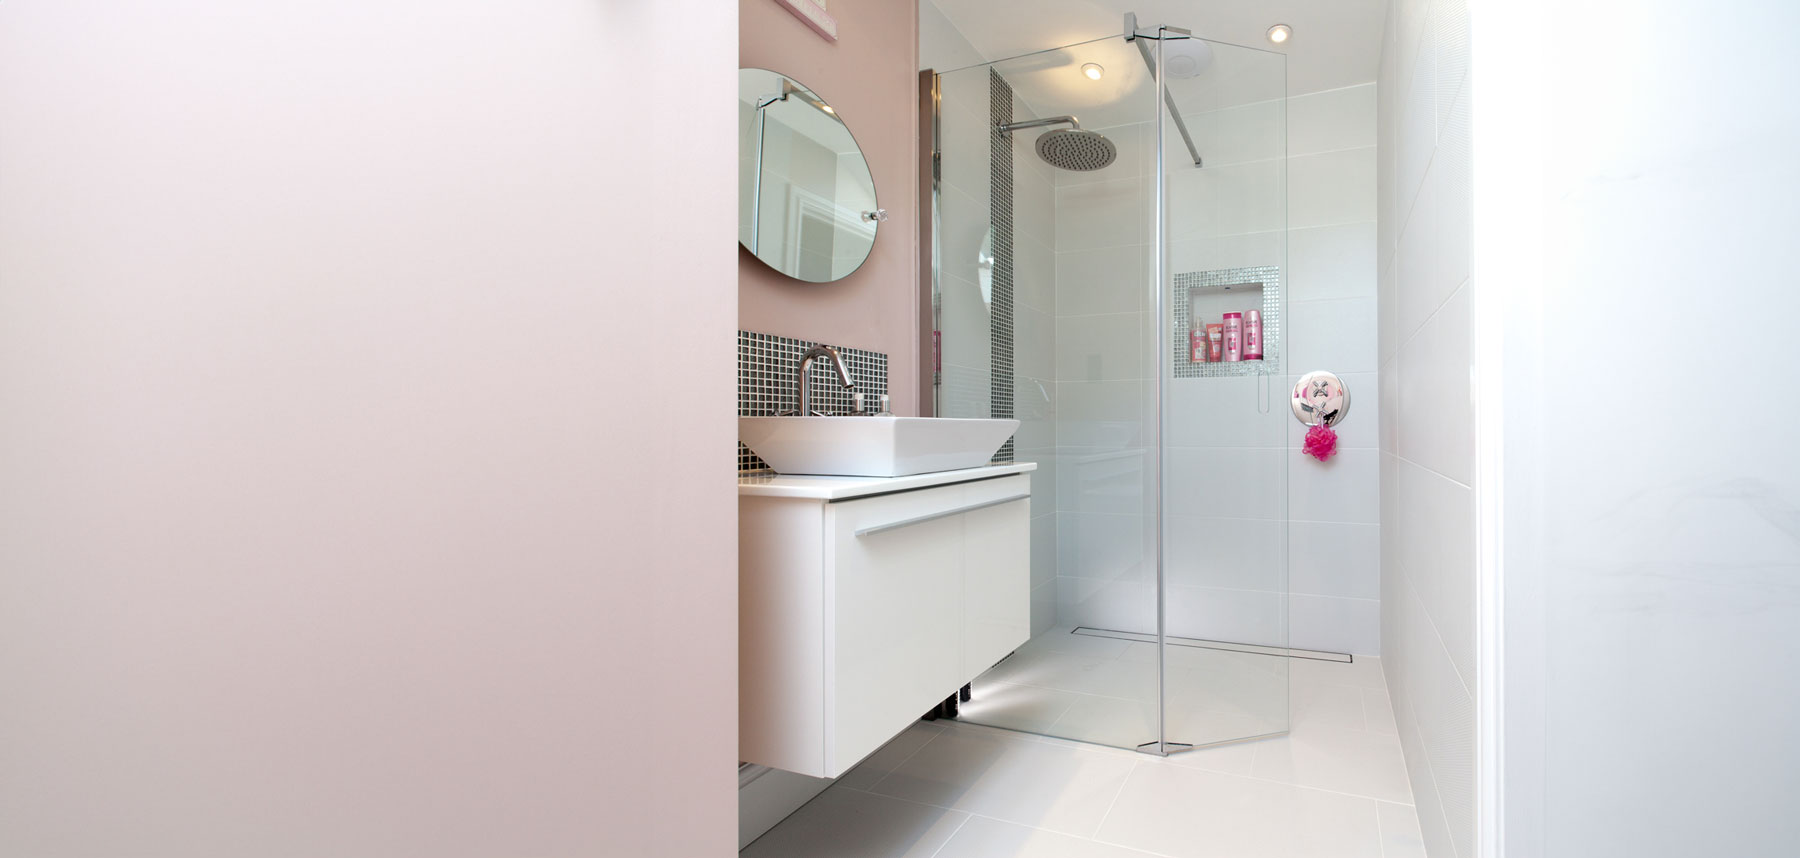
How to Remove a Wetroom Linear Screed Drain Cover
A linear drain collects wastewater and directs it into a trough or channel underneath the wetroom floor. It can be installed across the entrance to the wetroom, along the wall, or in the centre of the shower floor. Linear drains are long and rectangular but, like all drains, they can become blocked with hair and other materials and require regular maintenance and cleaning at least twice a year.
You can remove a linear drain cover by following the steps above. There should be no need to remove a linear drain just to remove the cover itself. Once you’ve cleaned the drain, you can reassemble the drain before connecting it to the drainpipe or wastewater channel.
Still Need Advice About How to Remove a Wetroom Drain Cover?
Our team of experts are on hand to support you in replacing your wetroom drain with an effective solution. For the very best advice about wetroom design, installation, and drain options, contact us today.