
A cracked shower tray might look like a minor problem, but the damage it causes tells a different story. Even a hairline split can let water seep into hidden spaces, leading to persistent damp, mould, rotten floorboards and stained ceilings below.
Yet by the time you spot the warning signs, a simple shower tray fix could become a costly headache and an expensive repair bill.
If you’ve researched ‘how to fix a cracked shower tray’, this guide explains how minor repairs typically work, when to call a professional and what to consider if your shower needs replacing. We’ll also explore modern wetrooms as an affordable and practical alternative that removes the need for a conventional tray, but this all depends on proper waterproofing and drainage.
What causes shower trays to crack?
A crack in your shower tray needs immediate attention. Before reaching for sealant, you must establish whether the damage affects only the surface or extends through the tray. That distinction determines whether a repair is suitable and whether the shower is safe to use.
Understanding the cause matters because covering a crack won’t always resolve the problem. So, what’s the best solution?
A suitable repair kit may resolve minor surface damage, but deeper cracks, repeated leaks or movement underfoot can point to deeper problems. Knowing what caused the crack, and how far the damage has spread, is key to choosing a fix that lasts.
Common causes of cracked shower trays include:
Inadequate support beneath the tray
A shower tray needs a stable base installed to its manufacturer’s instructions. Unsupported areas can allow movement when someone stands on the tray, putting repeated stress on the material. If the floor beneath has deteriorated or the installation allows flexing, a surface repair alone is unlikely to last.
Impact damage
Dropping a heavy shower fitting, tool or glass bottle can chip or crack the surface. An isolated impact mark may be repairable, but the visible mark does not necessarily show the full extent of the damage. Check the surrounding area without pressing down on it.
Installation problems and existing damage
Stress around fittings, an uneven base or damage sustained during installation may contribute to later failure. Repeated loading can also expose weaknesses over time. Age alone, however, does not tell you whether a tray needs replacing: its condition and support matter more.
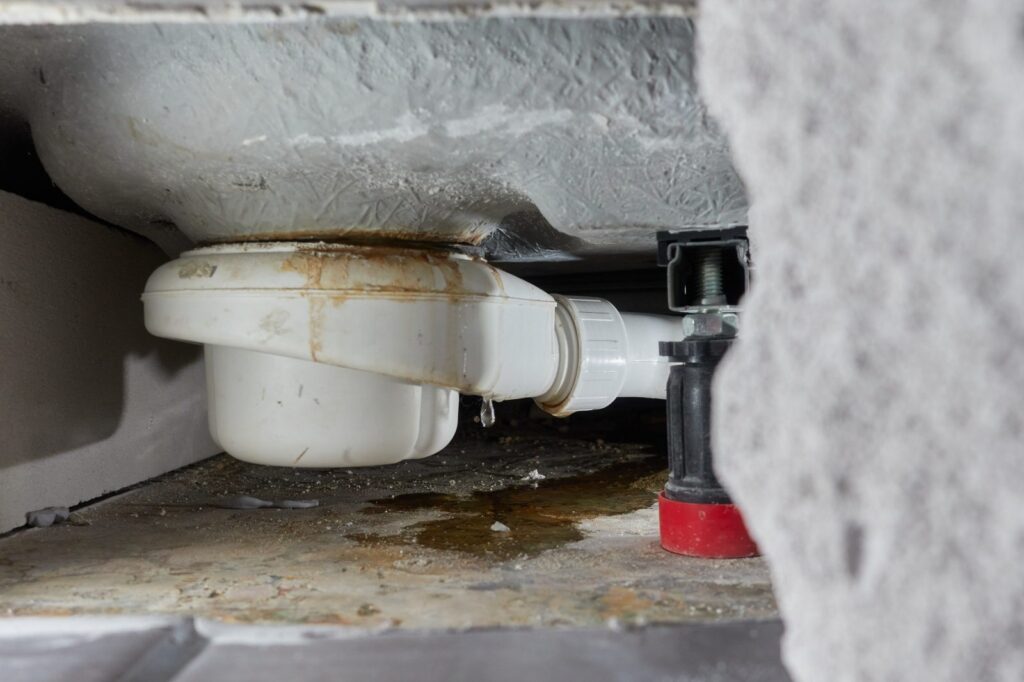
Cracked Shower Tray Warning Signs and Leak Risks
A small crack in your bath or shower tray can lead to a much bigger repair bill. What starts as a hairline mark can widen over time, often before you notice a leak.
Tackling the crack early can prevent water damage and keep your bathroom in good condition. Some problems are obvious, such as a widening split. Others first become noticeable around the shower or in the room below. Look for:
- Cracks spreading from the waste outlet, corners or an impact point.
- Movement, creaking or a soft area noticed during previous use.
- Damp flooring, swollen skirting boards or persistent musty smells.
- Staining on the ceiling beneath the bathroom.
- Sealant pulling away around the tray.
These signs do not prove the tray itself is leaking. The waste connection, plumbing or perimeter seal may be responsible.
Water escaping beneath a tray can also remain hidden. Continued use may allow moisture to damage surrounding finishes and the supporting floor, increasing the eventual repair work. Do not run the shower repeatedly to see whether the stain gets worse.
Can a Cracked Shower Tray be Repaired?
Sometimes, but there is no universal repair method. It all depends on the tray material, the depth and location of the damage and whether the base is stable.
A professional may be able to repair a superficial hairline crack on an otherwise sound tray. But you must first distinguish between surface damage and cracks accompanied by movement or leakage. If the tray flexes, filling the surface won’t resolve the support problem beneath it.
Do not use crack width as your only test. A fine line can still be more serious than it looks, particularly if the tray moves. If you cannot confidently establish the extent of the damage, ask the manufacturer or a qualified repair specialist before attempting DIY work.
How to Fix a Cracked Shower Tray with Minor Surface Damage
The following steps describe the typical process for a repair that the tray manufacturer and repair-product supplier confirm is suitable. They are not instructions for repairing a split or unstable tray.
1. Identify the tray and check your guarantee
Find the brand, model and material from your purchase documents or installer. Our comparison of stone resin and acrylic shower trays explains their different characteristics. The tray’s surface coating also matters when selecting a repair product.
Photograph the damage before doing anything to it. If the tray is covered by a guarantee, contact the supplier first. Sanding or applying filler can complicate an assessment of the original fault.
2. Choose a compatible repair kit
Check that the product covers both your tray material and the damage. Acrylic, stone resin and ceramic surfaces should not be treated as interchangeable. Some kits cover chips and scratches but exclude cracks.
Confirm the colour, finish and suitability for the shower surface, including any textured or slip-resistant coating. If the instructions do not cover your situation, do not improvise with general-purpose resin or adhesive.
3. Prepare the surface carefully
Keep the tray dry and remove soap residue and contamination using only manufacturer-approved cleaning products. Let the area dry thoroughly before proceeding.
Protect adjacent surfaces and follow the kit’s ventilation and protective-equipment instructions. Only sand or otherwise prepare the damaged area as directed. Do not drill the ends of the crack, widen it or use aggressive solvents based on generic online advice.
4. Apply the approved repair material
Some systems use a filler and hardener, followed by a finishing coat. Measure and mix exactly as instructed, observing the working time and application thickness. Extra hardener is not a reliable shortcut.
Use the supplied applicator to form the repair without leaving voids. The exact application method must come from the instructions for your approved repair system.
5. Finish and allow full curing
Once the material has reached the required stage, complete any specified sanding, colour coating or polishing. Avoid changing the surrounding texture or removing a slip-resistant finish.
Allow the full stated time before exposing the repair to water or putting weight on it. A surface that feels dry may not be ready for showering; curing times vary between products.
6. Check before returning to use
Confirm that the repair is complete and that any underlying support problem has been addressed. If leakage was suspected, have a professional check the installation before normal use resumes.
Monitor the shower area afterwards. A returning line, renewed movement or dampness means the problem needs reassessment, not another layer of filler.
Are Temporary Shower Tray Fixes Safe?
Silicone, waterproof tape and household glue should not be treated as a temporary repair for a cracked shower tray. Covering the opening does not restore its strength or establish that water cannot escape beneath it.
Silicone has a role in appropriate joints around a shower, but a failed perimeter seal and a crack through the tray are different faults. Replacing sealant will not fix structural damage.
The safest temporary measure is to keep the shower out of use and use another washing facility while arranging an assessment. Any temporary repair proposed by a professional should have clear limits and a plan for permanent work.
When is a Full Replacement the Safer Option?
A full replacement deserves serious consideration where the shower tray has a deep or spreading crack, leaks through its body, feels unstable or has already been repaired unsuccessfully.
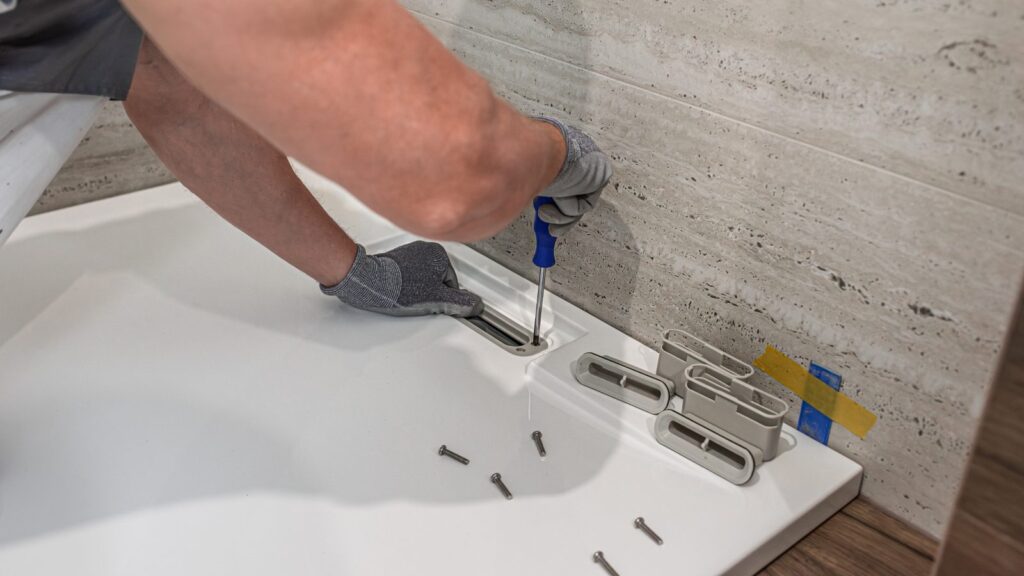
Ask a professional installer to assess the whole shower area. Replacing the tray without correcting inadequate support or moisture damage may cause the problem to recur. Deep repairs may need underside access or reinforcement, which should be assessed by a specialist rather than attempted with a surface kit.
Replacement also needs careful drainage planning, and the correct positioning of the shower waste tray in relation to the waste connection requires close attention.
When comparing quotations, check what each includes: removal, inspection of the substrate, repairs beneath the tray, reinstatement and testing. Ask what is guaranteed and whether surrounding tiles or the enclosure will need reinstating.
Ready to Replace Your Shower with a Waterproof Wetroom?
Cracked shower tray? Take the next step towards a lasting solution with a modern wetroom from CCL Wetrooms.
If your tray needs replacing, explore our low-profile, stone resin Garla shower tray. Planning more extensive work? Consider a bespoke, level-access wetroom that removes the raised tray edge for easy access.
Meanwhile, our wetroom floor formers create the gradient needed for drainage beneath a tiled finish, while our wetroom waterproofing systems help protect timber and solid floors.
Contact us today to discuss the right system for your floor construction and showering needs.